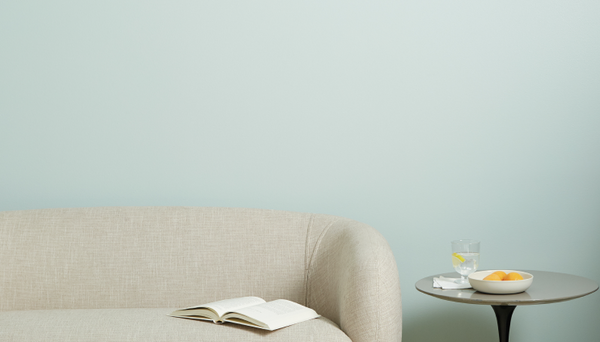
A Cleaner, Smarter Way to Test Paint at Home
Zero mess. Zero stress.

If you’ve ever tested paint the old-school way, you know the drill: buy a few sample pots, paint uneven squares on your wall, wait for them to dry… then immediately question everything.
Why does it look streaky?
Why does it look different at night?
Why is there now a weird patchwork situation happening in your living room?
Testing paint colors shouldn’t feel like a mini renovation. And the good news? It doesn’t have to.
Welcome to mess-free paint testing: a smarter, cleaner and more accurate way to find your perfect color.
The Problem with Traditional Paint Testing
Let’s start with the classic method: painting swatches directly onto your wall.
It seems logical… but it comes with a few issues:
Uneven application can distort how the color actually looks
Wall texture + existing color can affect the final result
Lighting changes make the same square look completely different throughout the day
Cleanup = repainting your wall (again)
Instead of clarity, you end up with more second-guessing—and a wall that’s seen things.
The Better Way: Mess-Free Paint Testing
Modern paint testing skips the mess and gives you more accurate results.
Think: peel-and-stick paint samples that are ready to go, so what you see is what you actually get. Goodbye rollers...for now.
Why it works better:
True color payoff (no streaks, no brush marks)
Zero mess (no drips, spills or cleanup)
Moveable (test anywhere, anytime)
Low commitment (barely lift a finger)
In short: it’s paint testing, but without the chaos.
How to Test Paint Colors (the Smart Way)
1. Skip the wall + start with a sample
Instead of painting directly on your wall, use a Peel-and-Stick Swatch. You’ll get a clean, consistent view of the color right away.
2. Move it around (this is key)
You’ll quickly see how much a color can shift depending on its surroundings.
Try your sample:
Next to trim
Near flooring
Behind furniture
In both bright and shadowy areas
3. Check it morning, noon and night
Lighting changes everything.
A soft neutral at 10am might feel completely different by sunset. Leave your sample up for at least a full day and revisit it in:
Natural daylight
Afternoon light
Evening artificial light
This is where mess-free paint testing really shines.
4. Compare, don’t commit
Testing multiple colors side-by-side helps you spot undertones and subtle differences you might otherwise miss.
Pro tip:
If two colors look similar, the right one will feel calmer, more natural and easier to live with.
5. Trust the process (and your space)
Paint colors don’t live on tiny chips anymore; they live in your home.
Testing them in your actual space is the only way to:
Understand undertones
See how they interact with your lighting
Feel confident before committing
And when the process is clean and easy? You’re way more likely to do it right.
Why Mess-Free Paint Testing Is the New Standard
Let’s be honest: no one misses the sample pot era.
Mess-free paint testing isn’t just easier; it’s more accurate, more flexible and way less stressful. You get to experiment, compare and evaluate colors on your terms without turning your walls into a patchwork project.
The Bottom Line
Testing paint colors at home is essential, but it shouldn’t feel like a chore.
With mess-free paint testing, you can:
Skip the mess
See colors clearly
Make confident decisions
No rollers. No repainting. No regrets.
Just peel, stick and find the color you love.
Related: 5 Sampling Tips to Help You Choose a Paint Color You Love
Tags:
We make paint shopping simple with curated colors, zero VOC paint and everything you need to create a home you love, delivered.


